
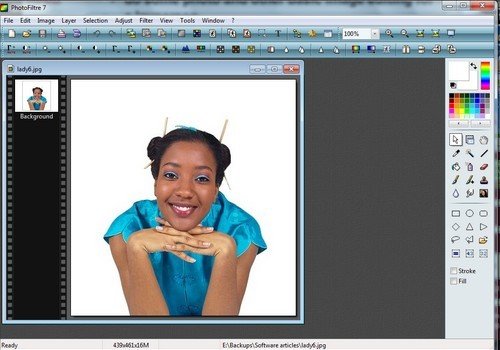
 At one time or other you have been confronted with situations where knowing how to edit an image like a simple photo would be very helpful. The person who might know how to this might not be available or it would probably mean unnecessarily parting with some hard-earned $$, for something you could deal with, with just a few clicks on you PC, with free software!
Such software is a small file called photofiltre. It suffices for most non-professional needs, you have every now and then.
Here some situations where it could be of help
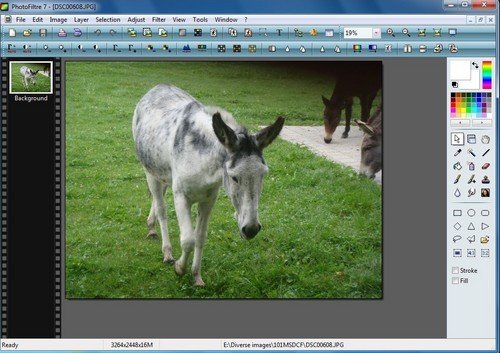
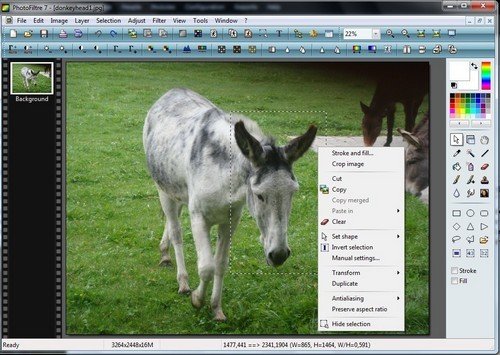
Editing a photo or some other image to cut out bits you would like. We shall use a picture of some donkeys, but it could be a picture of me with some folks. I would like to somehow cut out the rest of the picture and only remain, with for example only the head of the donkey. To do so, we shall use the arrow tool (see it selected below those colors (top-right) to select the head as shown in the picture below. After that, right-click on any section of the selected donkey head.
|
|
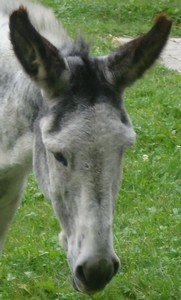
The result
|
- Photofiltre: resizing image
Resizing images
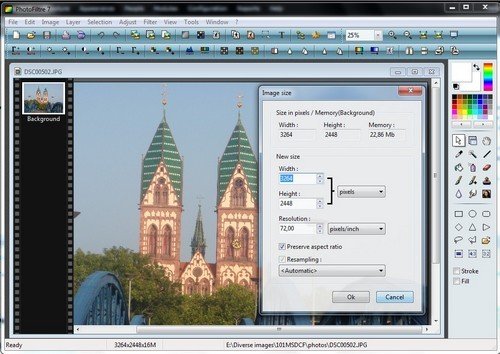
Resizing one image or many in a batch: New digital cameras today make huge images, often of high resolutions of say above 2000 x 2000 pixels & several megabytes each. That’s no problem if you have to view them on your PC. If you however want to send such an image or a number via email, or embed it on a website, this might be a problem. If you have a slow internet connection, uploading a 3 or 4mb photo, with a resolution of say 3000 x 4000 px to email it to your sister or friend – it might take too long or if you want to zip & email several images, they might easily exceed the maximum upload limit of your email provider or the target email might not accept it for the same reason.
The other day a friend easily got several pictures of about 1GB (1000mb!) from a friend, which was not an issue for her connection via Pando, which helps transfer large files across the internet and both have very fast broadband connections. (This service might no longer be available). She however could not pass them to another of her sisters, because the zipped file with the photos was simply too big. This other sister had no access to Pando. When I learnt about this & found each picture was 7, 8 MB(!) I suggested resizing them using Photofiltre. Since they were many, we had to use the batch function, which resized all within a few moments to a total of around 14MB instead of 1GB and, with a size of 600 x 800 each, they were big enough. To resize one or just a few pictures, just drag & drop them from their folder into photofiltre. Right-click on the picture & select “Image size”. Under “New size”, give your photo a new size. For photos, in this case, the original image was 3264 (width) x 2448 (height) px & 2.19MB and was changed to a width of 800px. The height automatically changed to 600px and the size was after editing just 115kb or 0.115mb! That makes a HUGE difference if you have to send such pictures via email or for other web-related uses. Many folks say in Africa using slow, non-broadband internet connections, or have no monthly data-transfer flatrate, for which this matters.
Resizing images at a go using the batch function
Using the batch function (see accompanying video), you can change many pictures on the fly after making a few settings, like setting the size, adding a border, changing contrast, brightness or rotating them, of course assuming you have sorted them before. Basically, after clicking the brown wheel-like icon, a new window opens. Select the Source folder, i.e. where the pictures are. Select the target Output folder where the edited pictures will be sent to. You might have to create one before.Go to the “Image” tab, select SIZE & set it to something like width: 800 & height: 600. Make sure the “Preserve size ratio” are selected or the pictures will get deformed. Unless you want to set other changes, go to the “Action” tab & click “OK”. All selected pictures in the source folder will be automatically resized within a few moments. You can of course make all these changes without the batch function for individual pictures.
Get Photofiltre free image editor
You can get photofiltre from http://www.photofiltre.com. There are different versions, including a paid version [PhotoFiltre Studio X (10.5.0)]. The free versions are Photofiltre 6 [http://photofiltre.free.fr/frames_en.htm] & photofiltre 7 [PhotoFiltre 7], which is newer and has more functions, including support for layers.
The zipped version of both is “portable” & can be installed on a USB flash drive. I personally prefer using this & since I use the portableapps platform [see separate article on this site], I get this from http://portableapps.com/apps/graphics_pictures/photofiltre_portable. It is basically the same thing.
An accompanying video will be posted shortly.